Thursday February 4, 2021
By Trevor Ross
 Growing
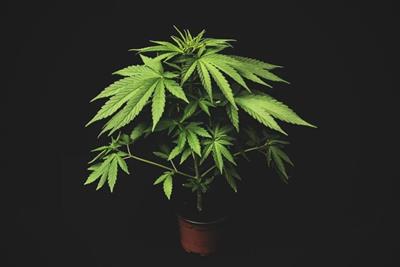
Safety concerns during the COVID-19 pandemic and a wave of new legalization have many people interested in growing their own cannabis from the comfort and security of their homes. There are very few activities quite like cultivating cannabis indoors, which can make the process look daunting to the beginner grower. But never fear, PotGuide is here.
The majority of the items needed for your cannabis grow can be purchased at any local gardening center (and many places even have a local hydroponics shop). So let’s discuss your options, and what equipment you can expect to use.
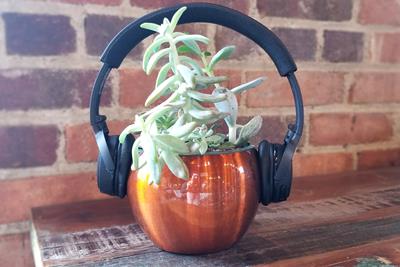
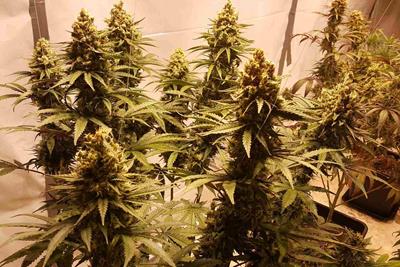
Selecting Your Grow Space
Consider first how many plants you want to grow, and how big you’d like them to be. Account for the lights above, containers below, air circulation systems (either fans or more advanced setups), and space for you to move around all these things in your measurements. Try to avoid carpet or other areas difficult to sanitize.
Finding an adequate grow space is the first step to begin growing. photo credit
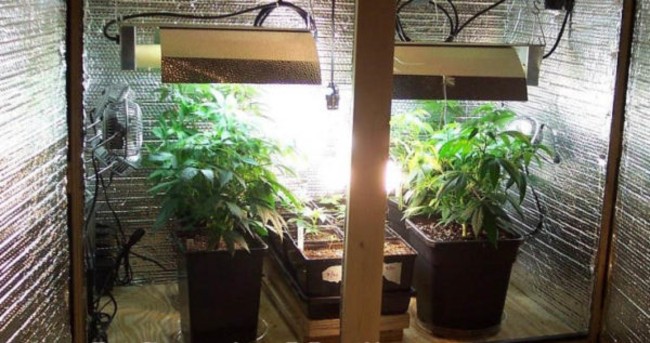
You’ll also want complete control of the lighting, so blackout any windows. Even leaks through cracked doors, seams, or shutters can disrupt your plant’s development. Airflow is another critical factor. Ideally, you’ll want a space where you can install exhaust fans, but at the very least you will need to be able to circulate the air in the grow space.
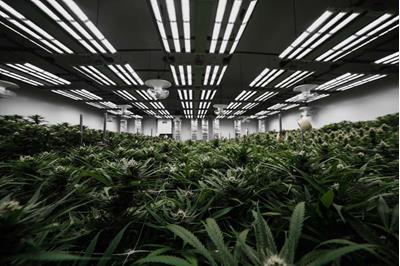
Choosing Lights For a Cannabis Grow
There are three main lighting options for indoor growing, each with its own unique properties.
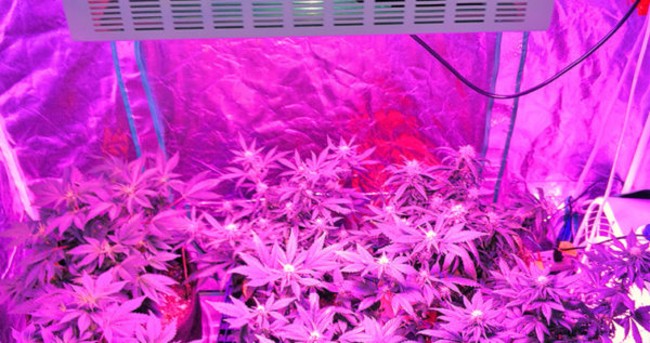
High-Intensity Discharge (HID) Bulbs
Many professionals use high-intensity discharge (HID) bulbs, which can offer blue-white light for the vegetative stage, or more amber, autumnal light to initiate flowering. If you choose these bulbs, you can also expect to buy your own hoods or reflectors, and even a ballast to regulate power. Also, be advised that HID lights burn hot. This could be useful or not depending on the natural temperature of your room.
Fluorescent Bulbs
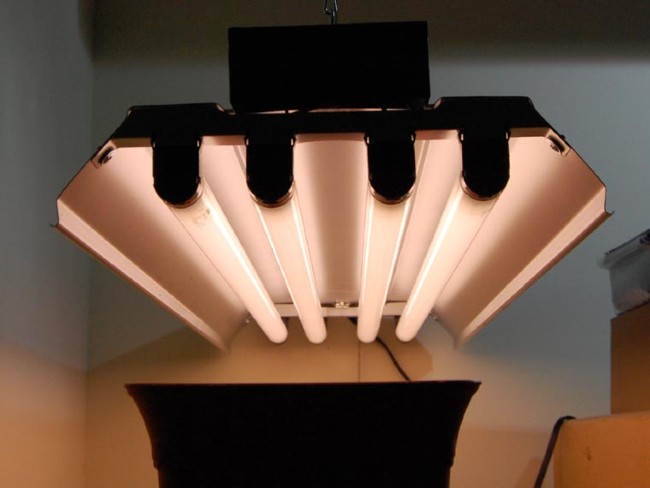
Fluorescent lights may be the cheapest, but they will not yield the best grow. photo credit
Fluorescent lights are cheaper, but less energy efficient, and will likely reduce your grams harvested per watt consumed.
LED (Light Emitting Diode) Lights
While LED lights might be a little more expensive, they are very efficient. photo credit
LEDs are energy efficient and create little heat. These used to be a bit more on the expensive end, but prices have settled in recent years, making them the standard option for many amateur growers.
Nutrients
Cannabis consumes primarily nitrogen in its vegetative state and potassium and phosphorus in the flowering stage. You will also want to feed it micronutrients which include copper, iron, calcium, and magnesium. These should be available at any gardening or grow store.
Hydroponic systems generally use liquid nutrients stirred into the water, and soil growers can expect to stir powdered fertilizers into the dirt. Note that some liquid fertilizers may come in two bottles--parts A and B--to be administered as directed on the labels. In general, be ready to read a lot of labels carefully.
Air Conditioners and De/humidifiers (optional)
More meticulous growers, or growers with difficult environments, may want to invest in strict temperature and humidity control.
Cannabis prefers temperatures between 70-85 degrees (F) during their “day,” and 60-70 in the dark.
Small humidifiers can be found at most department stores to soften up drier air. This factor ultimately matters less than your growing medium and the nutrients you feed it, but if you want to maximize yield, then get your room feeling like a summer in the swamp.
pH Meters
Cannabis thrives best in pH between 6 and 7 in soil, and between 5.5 and 6.5 in water. Straying too far beyond this range can result in nutrient burn–when the harsh chemicals physically harm the plant or nutrient lockout–when the roots become unable to properly absorb nutrients.
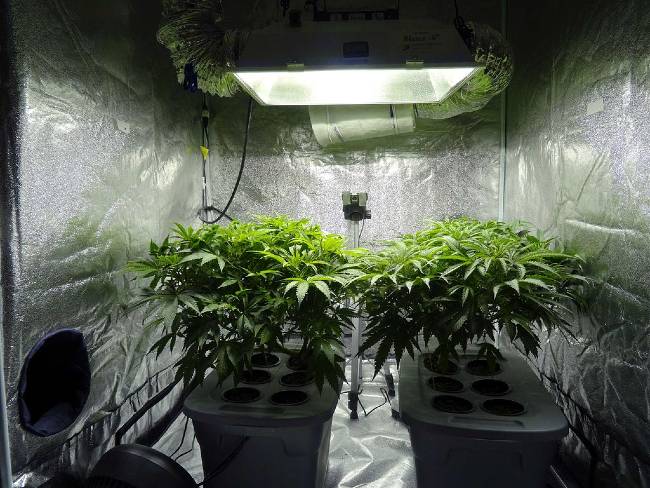
Growing Cannabis with Hydroponics
The most common medium for indoor growing is a deep water culture (DWC) hydroponic system, where the roots of the plant are suspended in water instead of earth. This option will require the most equipment, and therefore a higher investment upfront. It can also demand the most attention, but these efforts can be rewarded with a larger harvest than other options.
Reservoir
This will hold the water for your plants. You can suspend your plants in anything from a plastic storage bin to a five-gallon bucket. The important thing is to not let any light into the water. Even thin plastic will begin to collect algae and harmful molds. Remember to flush your reservoir once a week to keep it clean.
Hydroponics uses water as the primary medium, versus soil. photo credit
Drill holes into the lid or floating platform and insert net cups filled with anything from Rockwool to perlite to pebbles. This will support the root ball of your plant, with stalks and leaves above, roots and water below.
Air Pump / Air Stones
It seems antithetical to a hydroponic system, but your plants can drown in stagnant water. The solution is a simple air pump that rests outside the reservoir, connected by tubes to one or more air stones in the bottom of the reservoir. The pump will blow air through the hoses which is diffused through the porous stones into tiny bubbles that oxygenate your water.
Nutrient Pump / Water Pump (optional)
Larger scale growers may find manually adding nutrients to several tanks, and flushing those tanks, tedious and time-consuming. Or perhaps you just want to automate as much of your system as possible. In this case, nutrient and water pumps can be installed to do the work for you.
Fans
Professional operations use systems of ductwork with intake and exhaust fans, and you can find those pieces if you have the room and knowledge to install them, but many amateur growers get by with common area fans.
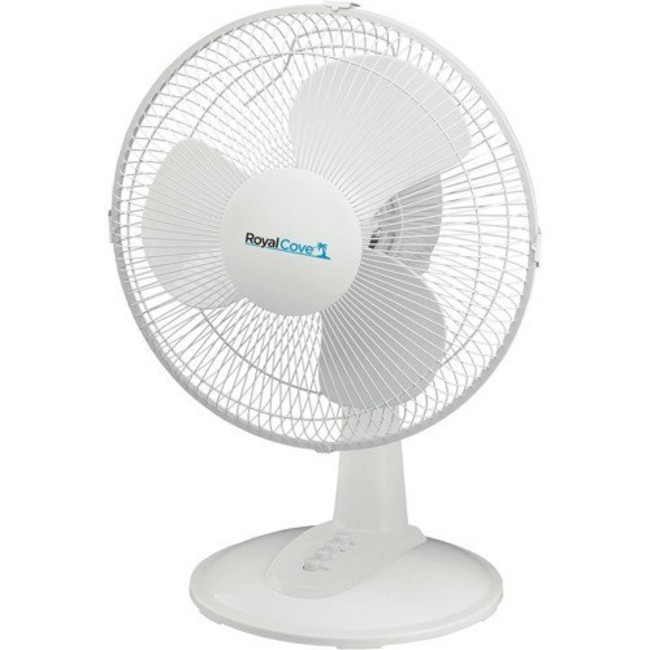
An oscillating fan is ideal to help keep the air circulating in your grow. photo credit
The goal is to keep fresh air circulating and deter flying pests from settling down. Be sure to prevent windburn by either aiming your fans away from your plants or at least relocating the fans at regular intervals.
Timers and Switches
The more you can automate your system, the better you can regulate conditions, and the less you’ll have to work. Electronic thermometer switches can be installed between fans and their outlets and programmed to power on when the temperature climbs too high. Similarly, lights can (and often should) be outfitted with timers that will power the lights on and off at a schedule you select.
Growing Cannabis in Soil
Good old dirt is the most natural option for your cannabis and the most forgiving for novice growers. Soil systems require less maintenance and attention to detail (though the option to micromanage is still available if you prefer). When further automated with switches and timers, soil becomes the best choice for growers who want to “set it and forget it.”
Potting Soil
Begin each plant with fresh, clean potting soil found at any garden center, but be sure to avoid any soils that include time-release fertilizers. While these fertilizers are great for many flowers and vegetables, they won’t provide the cycle of nutrients your cannabis needs to truly thrive.
Pots
Almost anything can be used as a growing pot as long as it has adequate drainage. Cannabis roots are sensitive to saturation, so be sure water can easily drain through the bottom.
A Brief Word on Soilless Options
The principles of soil and hydroponic growing mediums can be combined to different extents with soilless systems that utilize Rockwool, perlite, or clay pebbles, among several others. Often this involves the plant suspended in a brick of Rockwool, for example, and bottom-fed with nutrient water that is absorbed into the medium like a sponge. These options allow more room for error than purely hydro systems but will lack the beneficial microbes and easy regulation of soil systems.
Final Notes on Indoor Marijuana Growing
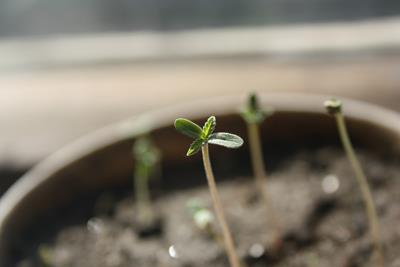
Once you’ve chosen your growing method and collected your equipment, test the setup before you introduce your plants. You don’t want seeds sprouting when you find out your air pump is broken, or your temperature is difficult to maintain.
And finally, start small. Growing anything–especially cannabis–inevitably comes with a learning curve. You’re balancing an array of factors, and even veteran growers still lose plants to pests, disease, or plain old mistakes. Starting with one or two plants will allow you to learn at a minimal cost. All that’s left is to sprout some seeds!
Stay safe, stay healthy, and happy growing!
What have your first indoor grow experiences been like? Share in the comments!