

Monday December 23, 2019
 Growing
Automating a grow op is a great way to improve efficiency and reduce the risk of human error. It is not, however, a replacement for human interaction. Growers must still monitor the health of their cannabis plants and regularly ensure that automated systems behave as expected.
Though it does take time to monitor and modify different aspects of an automated grow room, it is much less labor-intensive than manual operations. Automation, therefore, allows commercial cultivation facilities to lower labor costs and improve product consistency. For home growers, automation allows people to step away from their grow room for a few days without hiring a plant sitter.
Automating the Watering Process for Cannabis
The easiest grow methods to automate are water-based set-ups – hydroponics, aeroponics, and aquaponics – but soil-based techniques can benefit from automated watering systems, as well. Regardless of which cultivation method is used, careful planning and set-up are crucial.
To begin the automation process, gather your supplies. You will need the following materials:
- Flood Tables: These large, grooved trays are necessary for catching water run-off and protecting plants from over-saturation. They can be tilted slightly to help control.
- Water Tank: The water tank necessary for an automated cannabis grow room must be large enough to hold one week’s worth of water – any more, and the nutrients will expire; any less and labor will increase. Calculate two liters of water per plant per day to determine the volume of your water tank.
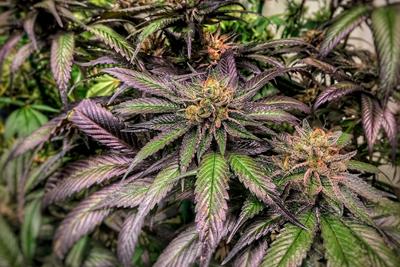
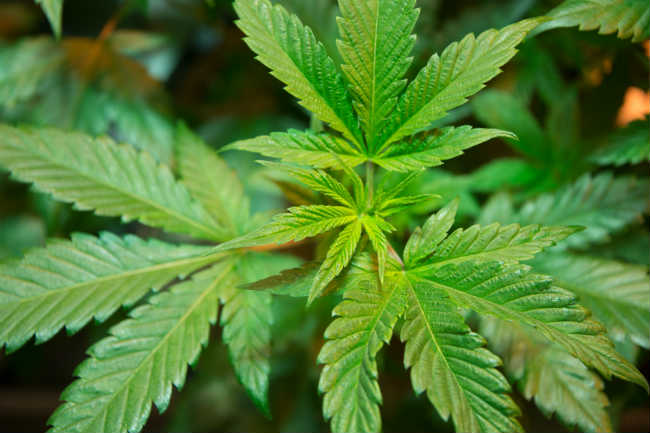
![Cannabis]() Using the right materials to automate will help your plants flourish.
Using the right materials to automate will help your plants flourish. - Water Pump: The submersible water pump should pump no more than 1000 liters per hour per square meter (enough to water about 16 plants). The pump will be placed inside of the water tank and must be cleaned regularly to prevent nutrient buildup. At a minimum, it should be cleaned before each grow cycle.
- Watering Pipes: The tubes that transfer the water to the plants, watering pipes often come in two sizes: a large main pipe that pulls the water from the tank and smaller secondary pipes coming off the main pipe to water the plants.
- Air Pump: The air pump serves two purposes: it oxygenates the water and keeps nutrients from settling. An air stone, which produces smaller bubbles than an average pump, keeps oxygen bubbles small and easier to mix.
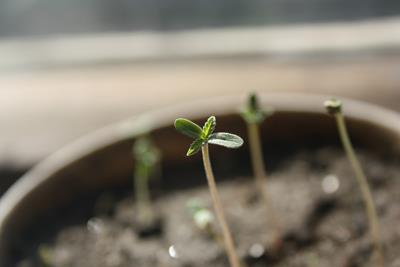
- Plants: The whole setup is futile if there are no plants to use it! Though hydroponic cannabis can use automated watering as clones, soil plants should begin auto watering during the first week of flower only.
After gathering your supplies, it’s time to set up your automatic watering system. Set up your flood table so that it is easy to collect and dispose of run-off. Note that you will not want to reuse the run-off, but you will want to test it to ensure proper nutrition.
Next, add enough distilled water and nutrients to your water tank to feed your plants for one week then add your water and air pumps to the tank, as well. Connect the air pump directly to an outlet and the water pump to an outlet timer which you will later use to set your schedule.
Next, measure how much water is pumped through the system by placing a measuring cup at the end of one secondary pipe (connected to the main pipe which is connected to the water pump) and turning on the system for exactly one minute. At the end of the minute, measure the water in the cup to determine how many minutes it will need to run to pump two liters per plant. Lots of math – grab a pen and paper.

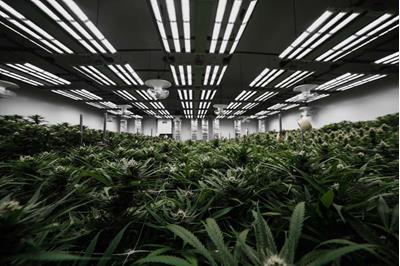
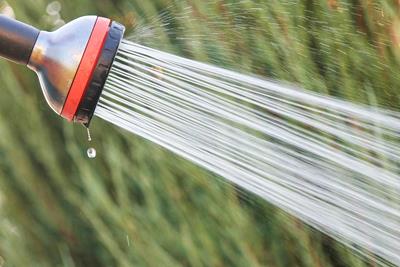
An automated watering system can help reduce errors and inefficiencies that are common for manual operations. photo credit
Finally, set up your plants. The grow medium in which the plants are held will largely determine the frequency of the water cycle – coco coir dries considerably faster than soil, for example. Before you let technology take over, monitor your plants to determine how frequently they require watering. If the top inch or more or the medium is dry, it needs watering. If the medium is still moist, hold off for a while.
Track your grow medium’s moisture level closely for at least one week for the best results. Remember to check for pests and stress throughout the grow cycle (at least once each week) and remedy concerns promptly.
Final Thoughts on Cannabis Grow Automation
Generally speaking, the more you can automate, the less you can mess up. This is not to say that automation should replace the manual maintenance of cannabis crops, but it does mean you can accomplish more with less effort.
Though the light cycle and photoperiod manipulation is the easiest part of the cannabis crop to automate – just plug your lights into an outlet timer and set it up accordingly – it’s not the only part of a cannabis grow you can automate. Automated watering takes a lot more practice, planning, and patience (and math!), but it pays for itself with healthy, happy plants that will thrive even if the parents leave town for the weekend.
Do you automate your cannabis watering schedule? Tell us about your results.